Synology
This article will introduce how to configure WalleCube Smart UPS on the Synology background and set up Remote Power-on (WOL).
Model Adaptation
WalleCube Smart UPS supports Synology NAS with DSM 7.0 and above. Currently, it mainly adapts to models with four bays and below. Selection suggestions are as follows:
- 2 Series (e.g., 218): Recommended to choose DC5521 Kit.
- 4, 7, 9 Series (e.g., 920+, 416Play): Recommended to choose Four-pin Kit.
Background Installation
- Enter Settings: After installing and connecting the UPS, log in to the Synology background, click Control Panel -> Hardware & Power -> UPS.

- Configure UPS Type:
- UPS Type: Select
USB UPS. - Hibernation Settings: Check “Time before DiskStation enters Standby Mode”, recommended to set to 5 minutes.
- Other Options: Other custom options generally do not need to be checked.
- Verify Status: Click the Device Information button to confirm the system has correctly identified the UPS information.
- UPS Type: Select

- About Standby Mode: Synology uses “Standby Mode” as a power failure strategy after DSM 7.0. After power failure, the system will enter standby state instead of completely shutting down. Below is Synology’s official explanation of standby mode for reference:

WOL Remote Power-on
- Enter Control Panel: Log in to the Synology background and open the Control Panel.

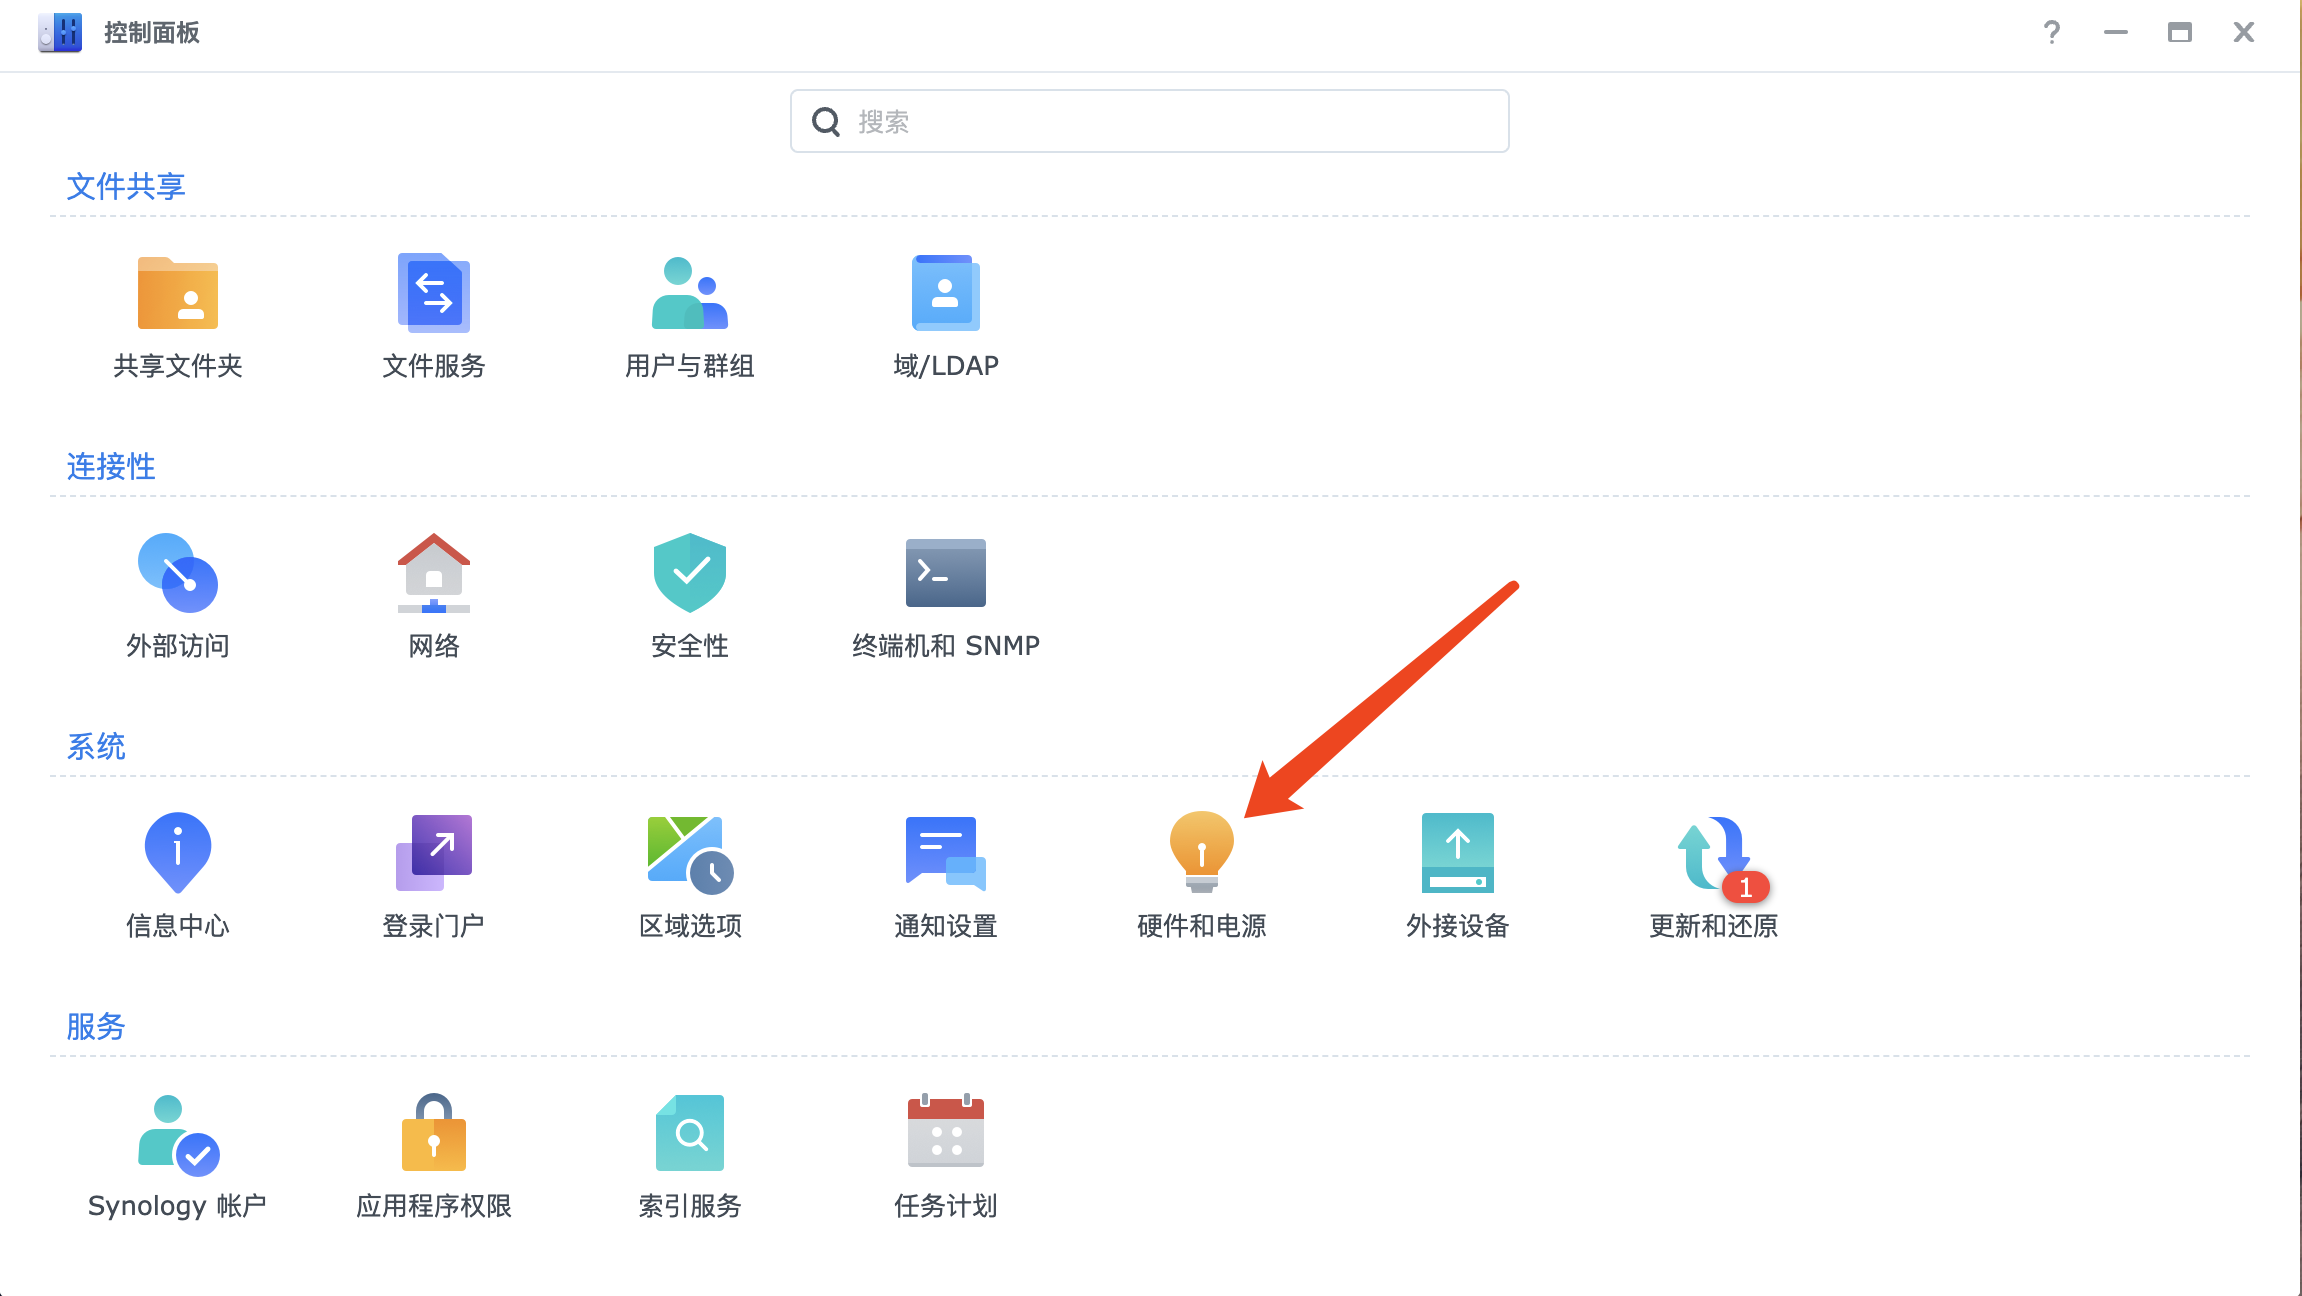
- Hardware & Power Settings: Select Hardware & Power.
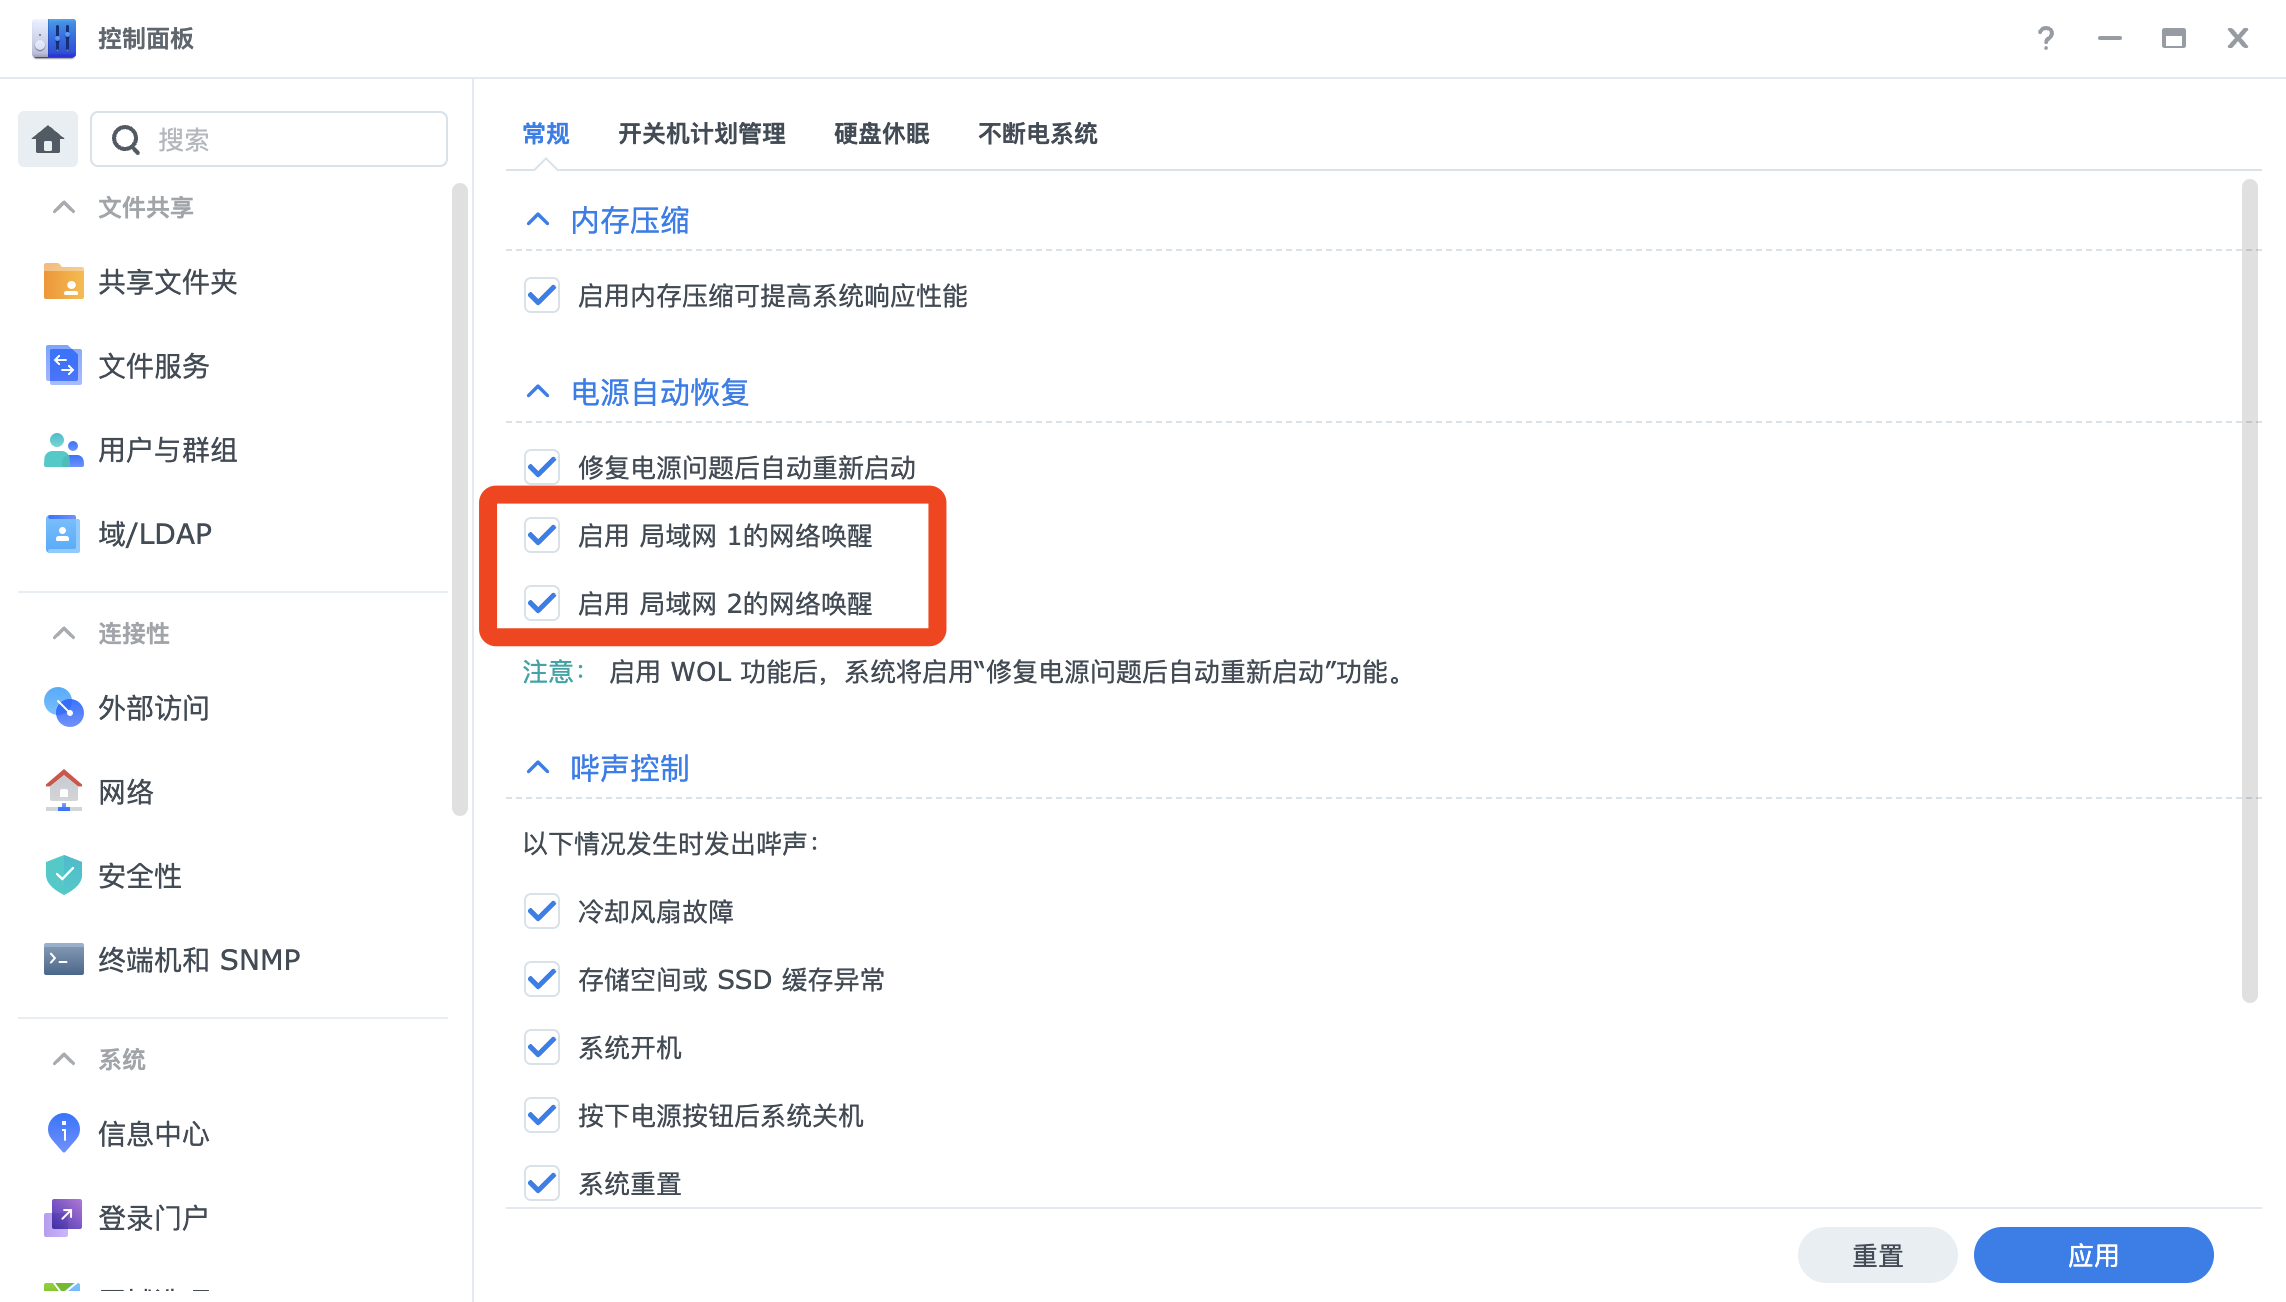
- Enable Wake on LAN: In the “General” tab, check Enable Wake on LAN over LAN (WOL), and click Apply to save.
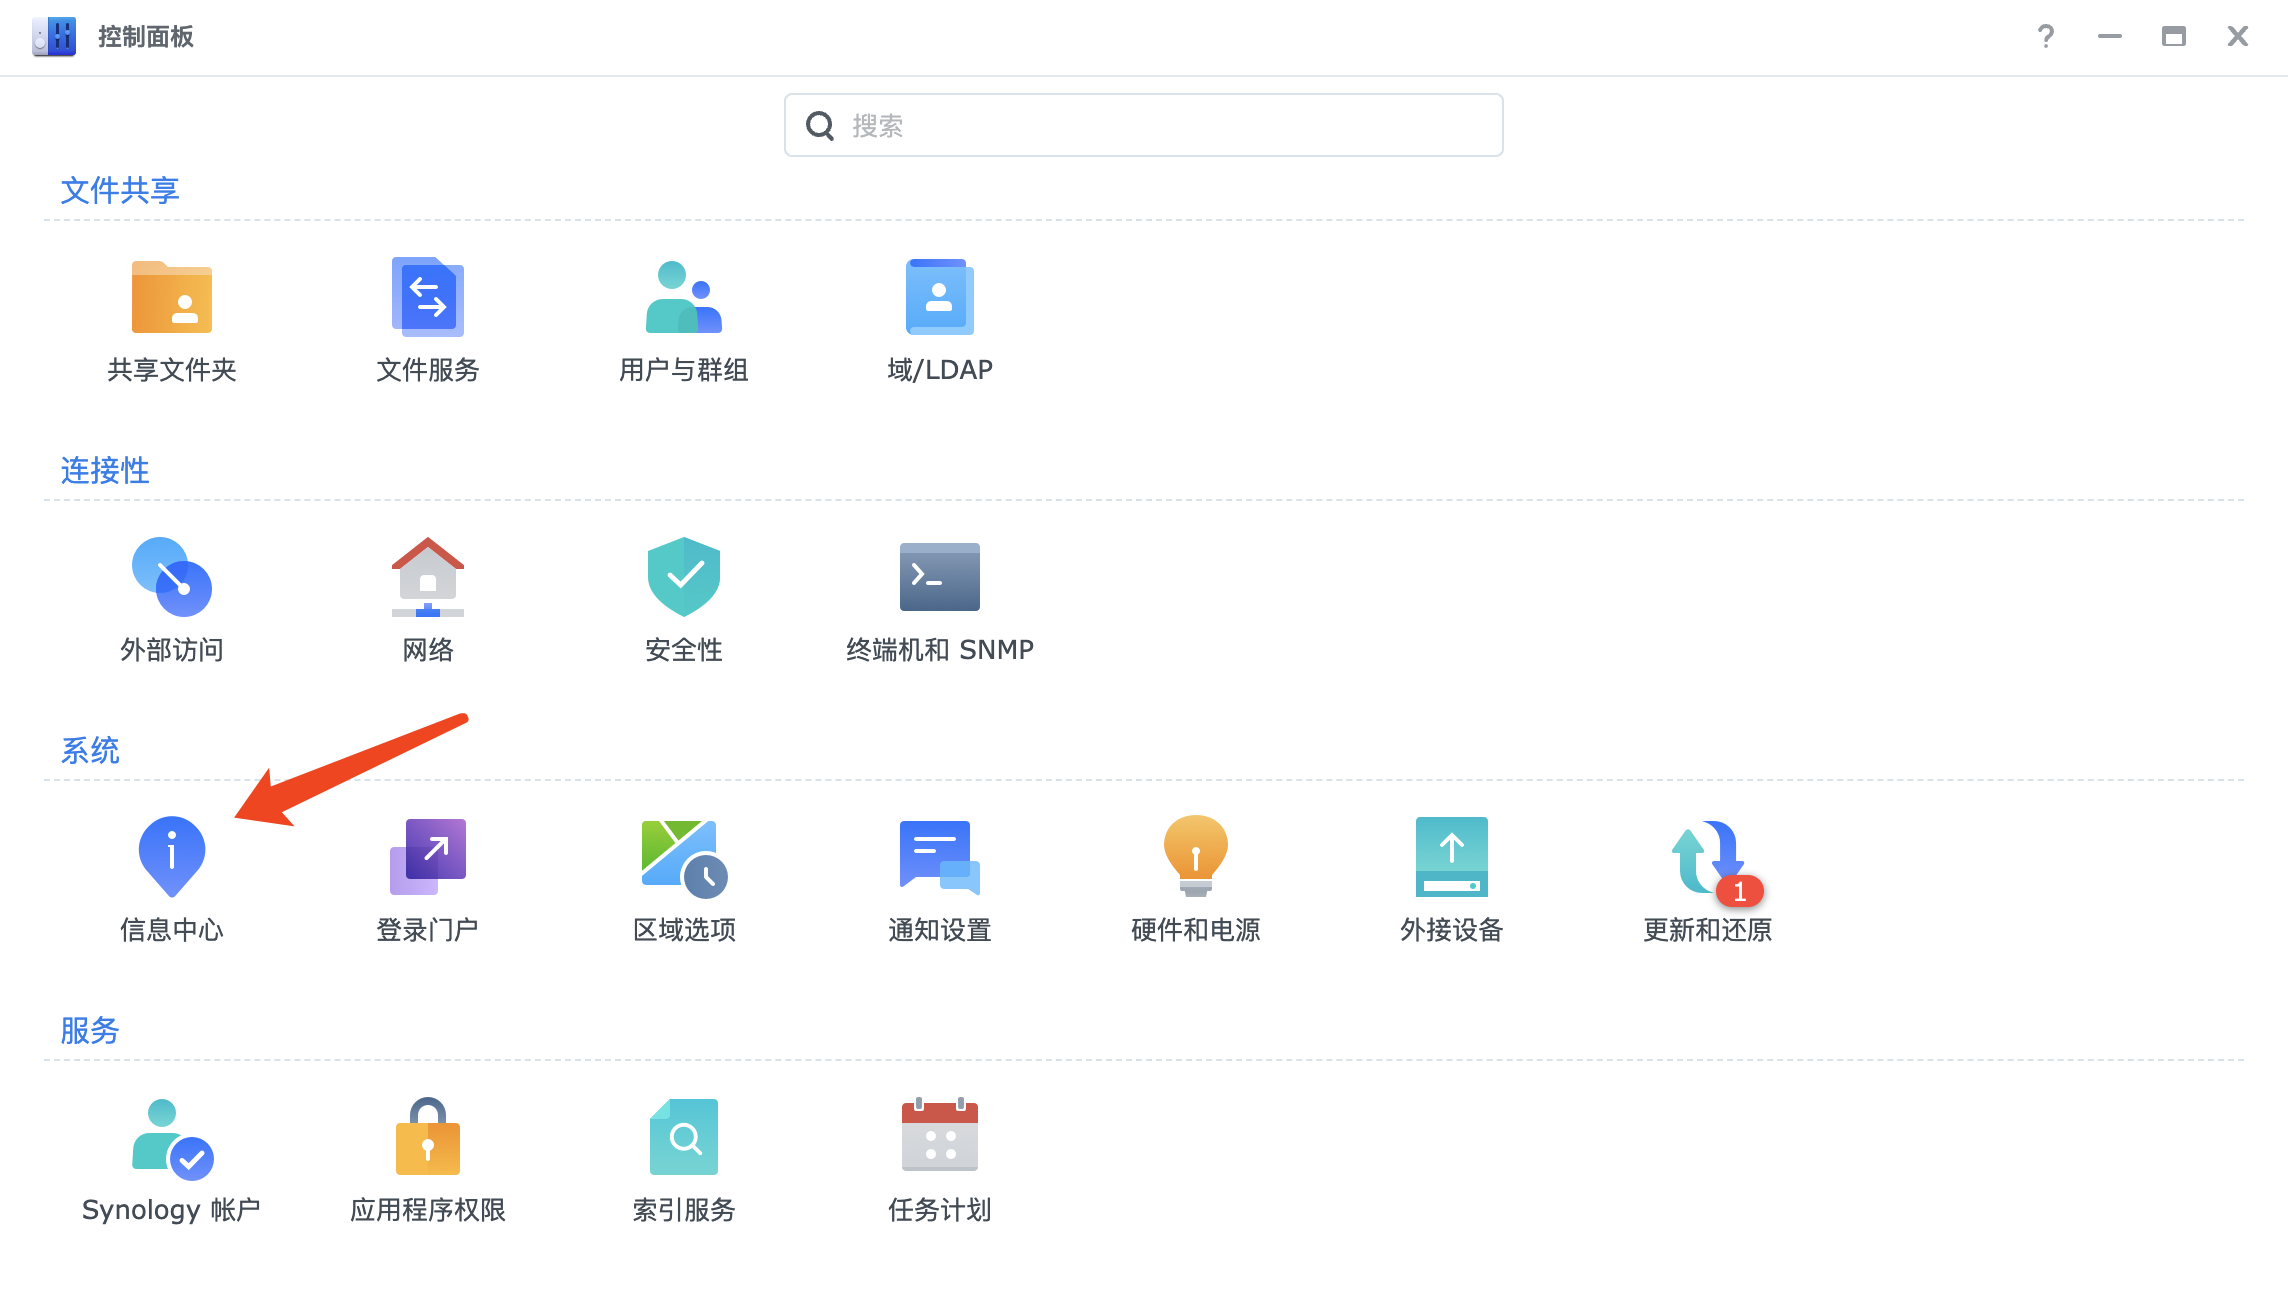
- Get MAC Address: Return to the Control Panel home page and click Info Center.
- Check Network Status: Switch to the Network tab, find and copy the MAC Address in the “LAN” section below.
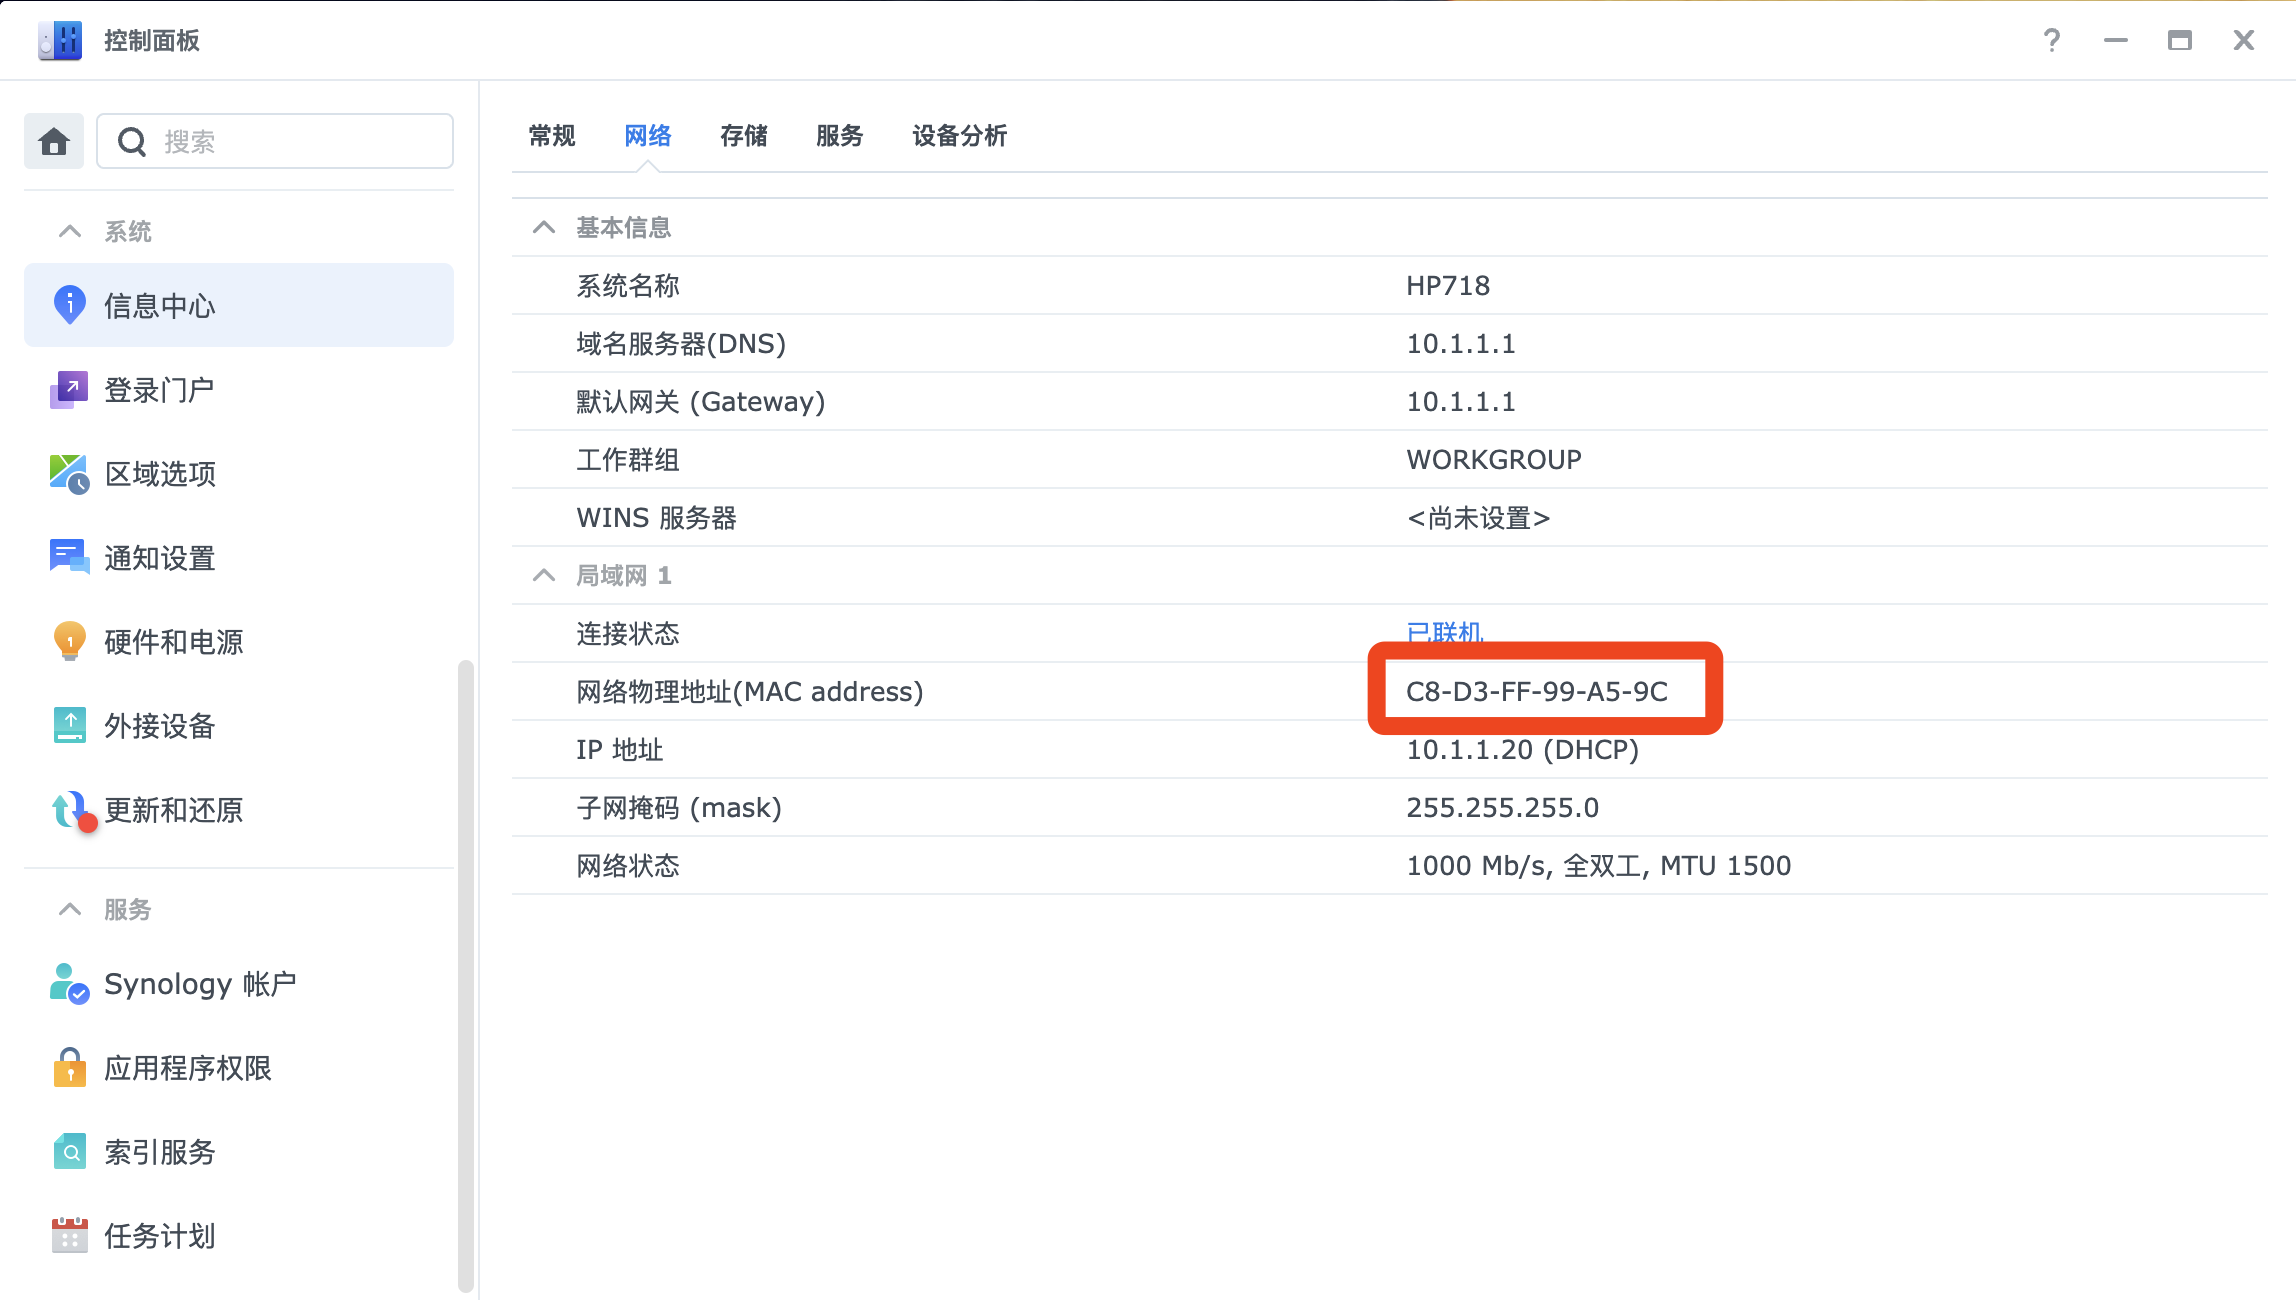
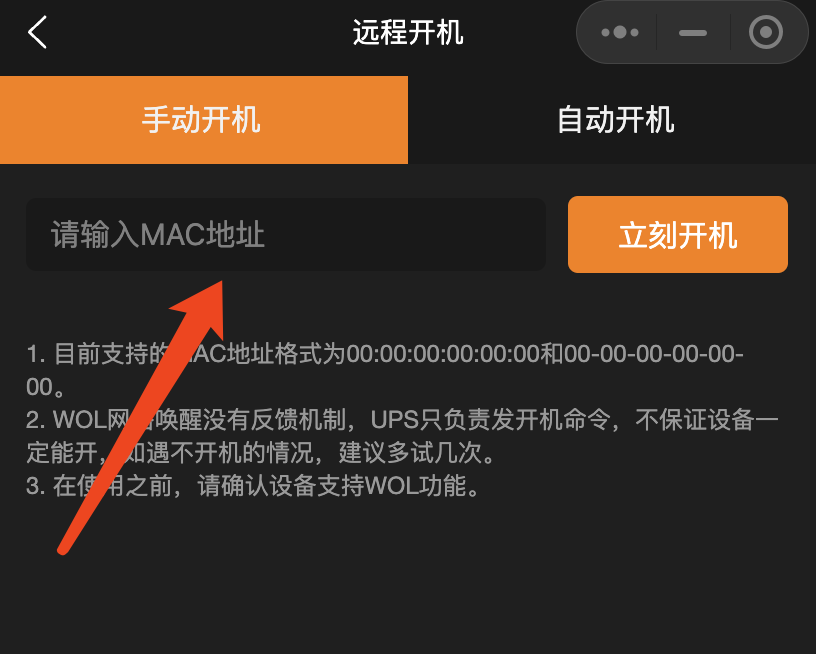
- Fill in the App: Fill the copied MAC address into the input box of the Remote Power-on -> Manual Power-on tab in the WalleCube app. Then click Power On Now to complete the remote power-on operation.
